

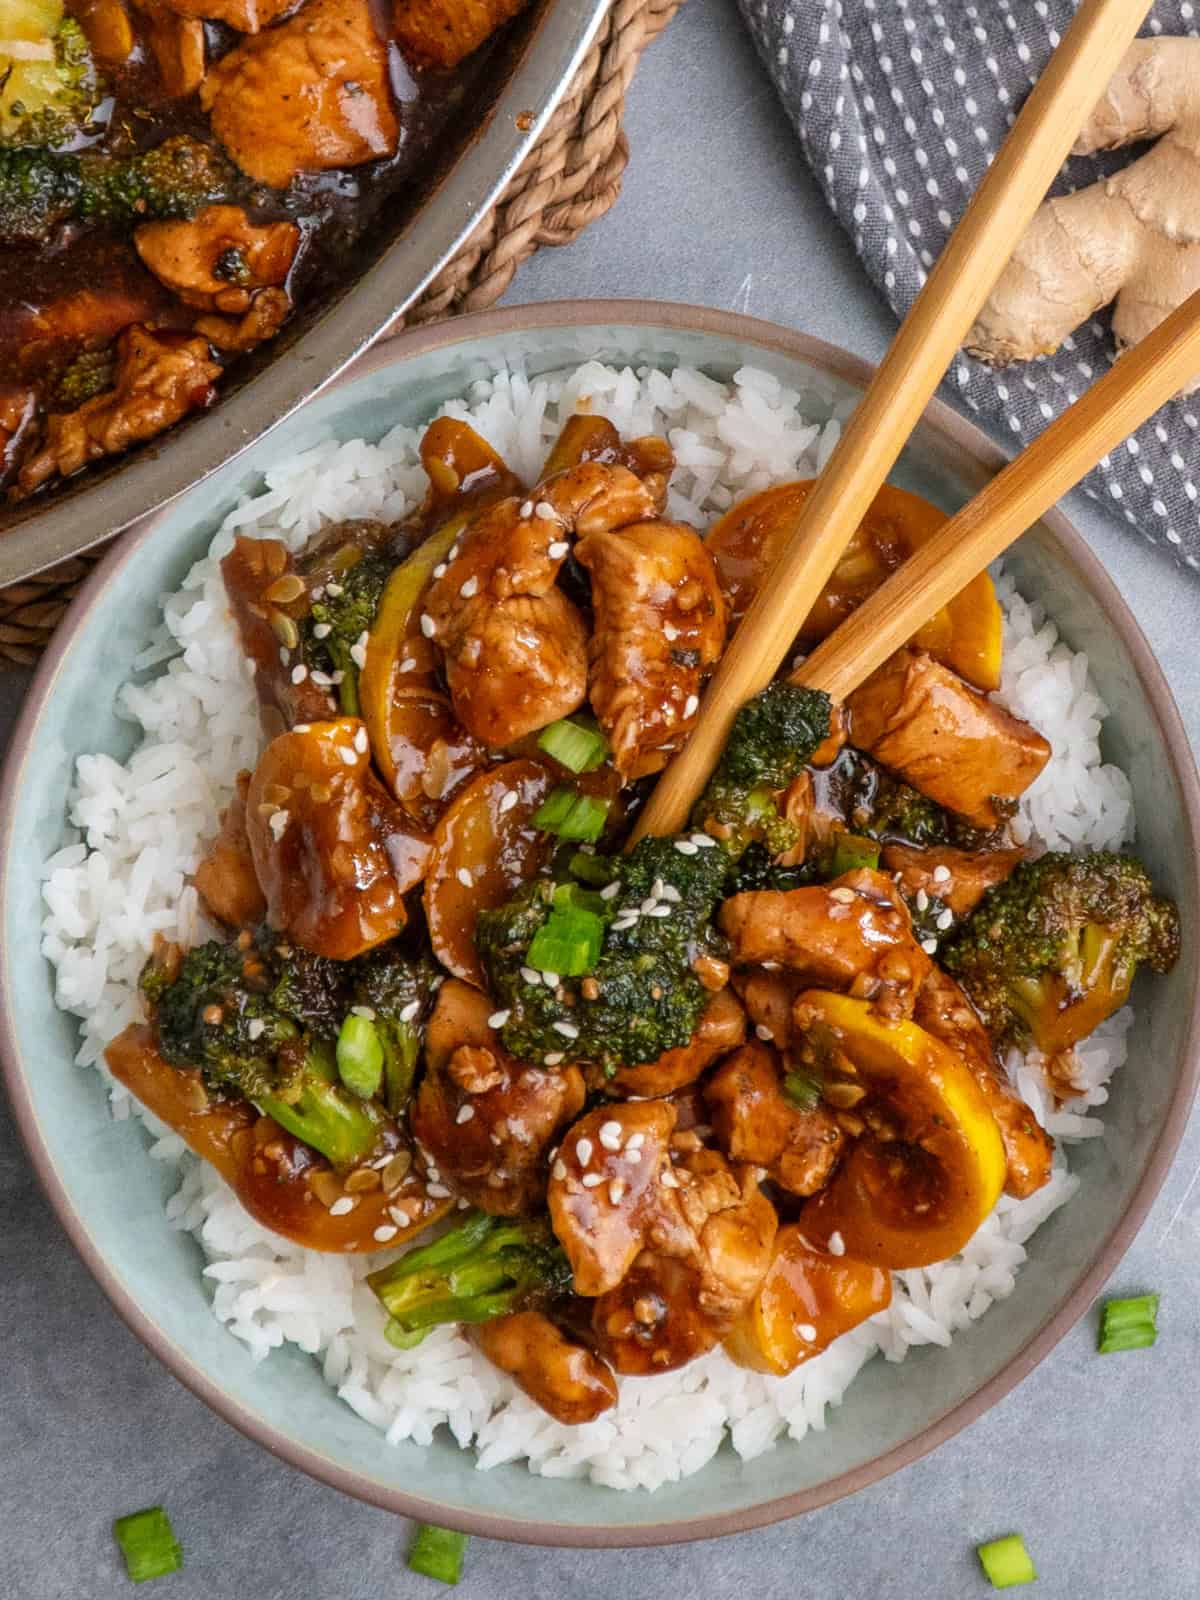
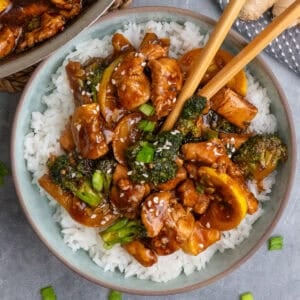
This Teriyaki Chicken Bowl features bite-sized chicken cooked in a skillet and coated in a glossy homemade honey teriyaki sauce, served with jasmine rice, broccoli, and yellow squash. It's a complete four-bowl dinner ready in 30 minutes, perfect for a busy weeknight, or packed up for meal-prep lunches.
Love cooking with the flavors of teriyaki? Try our grilled teriyaki chicken and this teriyaki beef recipe next. Both are easy-to-make dinners even the kids love.
Teriyaki Chicken Bowl Quick Summary
This Teriyaki Chicken Bowl combines tender chicken, fluffy rice, fresh broccoli, and yellow squash with a sweet and savory homemade honey teriyaki sauce.
- Prep Time: 10 minutes.
- Cook Time: 20 minutes
- Total Time: 30 minutes
- Cooking Method: Stovetop
- Skillet Size: 12-inch Skillet
- Main Ingredients: Chicken breast, rice, broccoli, yellow squash, and homemade teriyaki sauce
- Best For: Easy weeknight dinners, family meals, and meal prep
- Why This Works: Cooking the chicken, vegetables, and sauce in stages allows you to gauge the doneness of each ingredient before combining them. It also helps keep the chicken moist, the vegetables crisp-tender, and the teriyaki sauce glossy rather than watery or overcooked.
Summarize and Save This Content On
The sauce is what sets this bowl apart. Soy sauce, honey, brown sugar, mirin, garlic, ginger, and sesame oil simmer right in the skillet with the chicken, then thicken with a touch of cornstarch into a glossy, spoon-coating glaze.
Unlike recipes that treat rice and vegetables as an afterthought, everything here is measured and cooked together - chicken, jasmine rice, broccoli, and yellow squash - for four complete, ready-to-eat bowls in about 30 minutes.
If you love the ease and flavors of this teriyaki bowl, you've got to try our honey garlic chicken stir fry next.
Why This Recipe Works
- It's a Complete Meal: Rice, chicken, broccoli, and squash are all listed out in the recipe, so there's no side dish to plan. These hobo dinner in the oven foil packets are another easy complete meal my family loves.
- Better Browning: The chicken comes out before the vegetables go in, so it never overcooks in a crowded pan.
- Balanced Sauce: Honey and mirin soften the soy sauce's saltiness, while cornstarch gives it a glossy, clingy texture.
- Efficient Workflow: The rice simmers on its own while the chicken, vegetables, and sauce come together.
Jump to:
- Teriyaki Chicken Bowl Quick Summary
- Why This Recipe Works
- How I Tested This Teriyaki Chicken Bowl
- Ingredients You'll Need
- Variations
- How To Make a Teriyaki Chicken Bowl
- Make for Meal Prep
- Expert Tips
- Storing & Freezing
- Teriyaki Chicken Bowl Recipe FAQs
- Serving Suggestions
- More 30-Minute Dinner Recipes
- Teriyaki Chicken Bowl with Rice and Broccoli
How I Tested This Teriyaki Chicken Bowl
Before finalizing this recipe, I tested a few variations to see what actually makes the biggest difference in the final bowl.
Chicken Breasts vs. Chicken Thighs
- Breasts cook quickly and let the teriyaki sauce take center stage, but they turn dry fast if left in the pan too long, so be sure to pull them the moment they hit temperature.
- Thighs are more forgiving and come out juicier and more flavorful, though they need an extra 1 to 2 minutes to cook through. My family prefers breasts, so that's the cut I use most often, but either works well here.
Fresh Versus Frozen Broccoli
- Fresh broccoli, cut into small, even florets, only needs 4 to 5 minutes in the skillet before the sauce goes in. This is long enough to turn crisp-tender without going mushy.
- Frozen broccoli works too, but thaw it completely and pat it dry first. Leftover moisture thins the sauce and steams the broccoli instead of letting it caramelize. Since frozen broccoli is already partially cooked, add it in the last 2 to 3 minutes rather than the full 4 to 5, and cut back slightly on any added water or broth so the sauce stays thick enough to coat everything.
Ingredients You'll Need
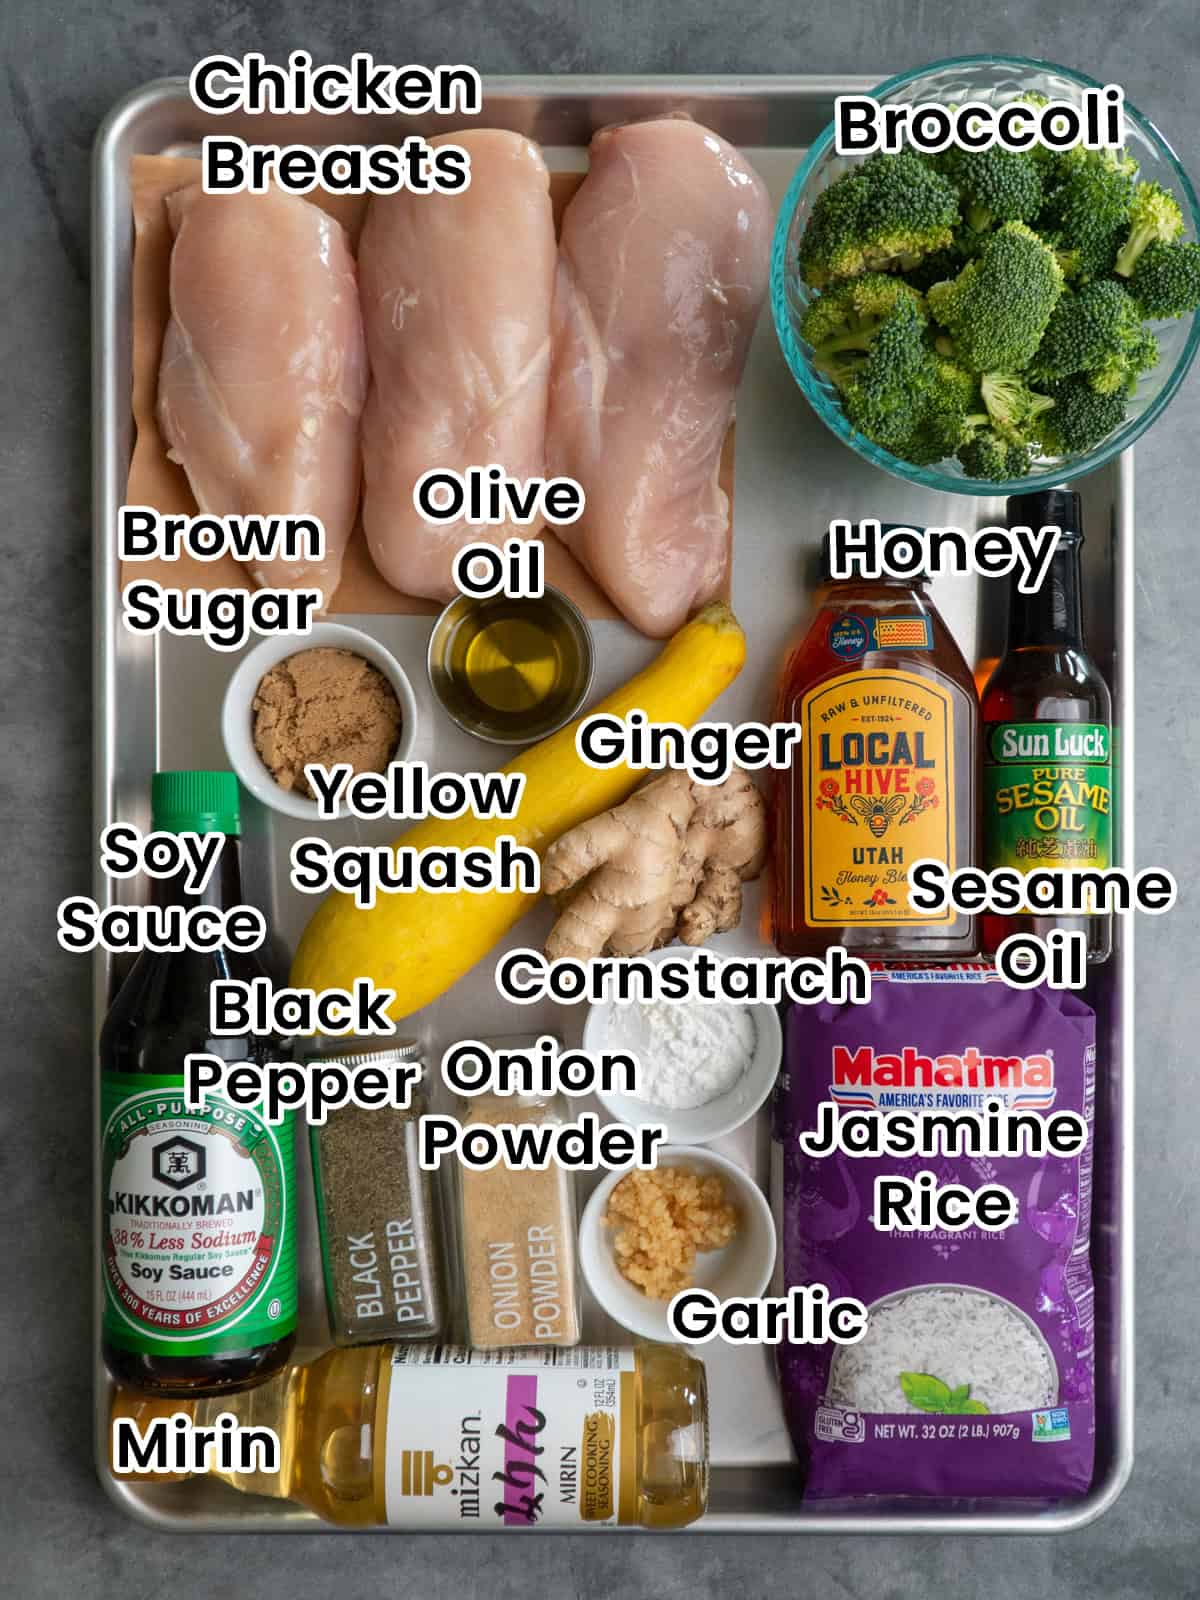
- Low Sodium Soy Sauce: Mixed with water, soy sauce adds a bit of salty umami flavor to the sweet and sticky sauce. I always reach for low-sodium to keep the flavors less salty. I also use it this easy beef and broccoli stir fry recipe.
- Light Brown Sugar & Honey: Both of these ingredients add a rich sweetness to the sauce, giving it the classic sticky-sweet flavor you want in teriyaki. If you don't have honey on hand, you can use all light brown sugar in its place. The sauce will be just a touch less sweet but still delicious!
- Mirin: Adds mild sweetness, savory depth, and a glossy finish to the teriyaki sauce. If you do not have mirin, substitute 1 tablespoon sake or dry sherry plus ½ teaspoon sugar. For an alcohol-free alternative, use water with a small amount of sugar. Rice vinegar can be used in a pinch, but it will make the sauce tangier.
- Sesame Oil: Gives the teriyaki sauce a nutty flavor that makes its flavor more complex and interesting.
- Aromatics: Fresh ginger and garlic add bold, zingy flavors, giving the sauce more depth of flavor.
- Cornstarch: Thickens the sauce so it clings to the chicken and vegetables giving it a shiny coating.
- Yellow Squash: Adds mild sweetness, tender texture, and vibrant color that pairs well with the savory teriyaki sauce. Zucchini can be used as a substitute.
- Jasmine Rice: Its fluffy texture and light fragrance make it my preferred option for soaking up the sweet and savory sauce. Calrose rice creates a slightly stickier bowl, while long-grain white or brown rice also works well.
See the recipe card for the full list of ingredients with measurements.
Variations
- Use a different protein: You can easily use shrimp or pork instead of the chicken. Just be sure to adjust the cooking time a bit.
- Make it gluten-free: Use a gluten-free soy sauce or tamari in place of the soy sauce.
- Make it spicy: Add a pinch of red pepper flakes, cayenne pepper, or sriracha to the sauce for some spice.
- Swap the base: Make your bowls with cooked quinoa, rice noodles, soba noodles, lo mein noodles, or even spaghetti if that's all you've got!
- Lower carb: For lower carb serving options, you can serve the teriyaki chicken over some riced cauliflower, zoodles, or a bed of greens.
How To Make a Teriyaki Chicken Bowl
To get started, gather all your ingredients, a 12-inch skillet, and rinse the rice.
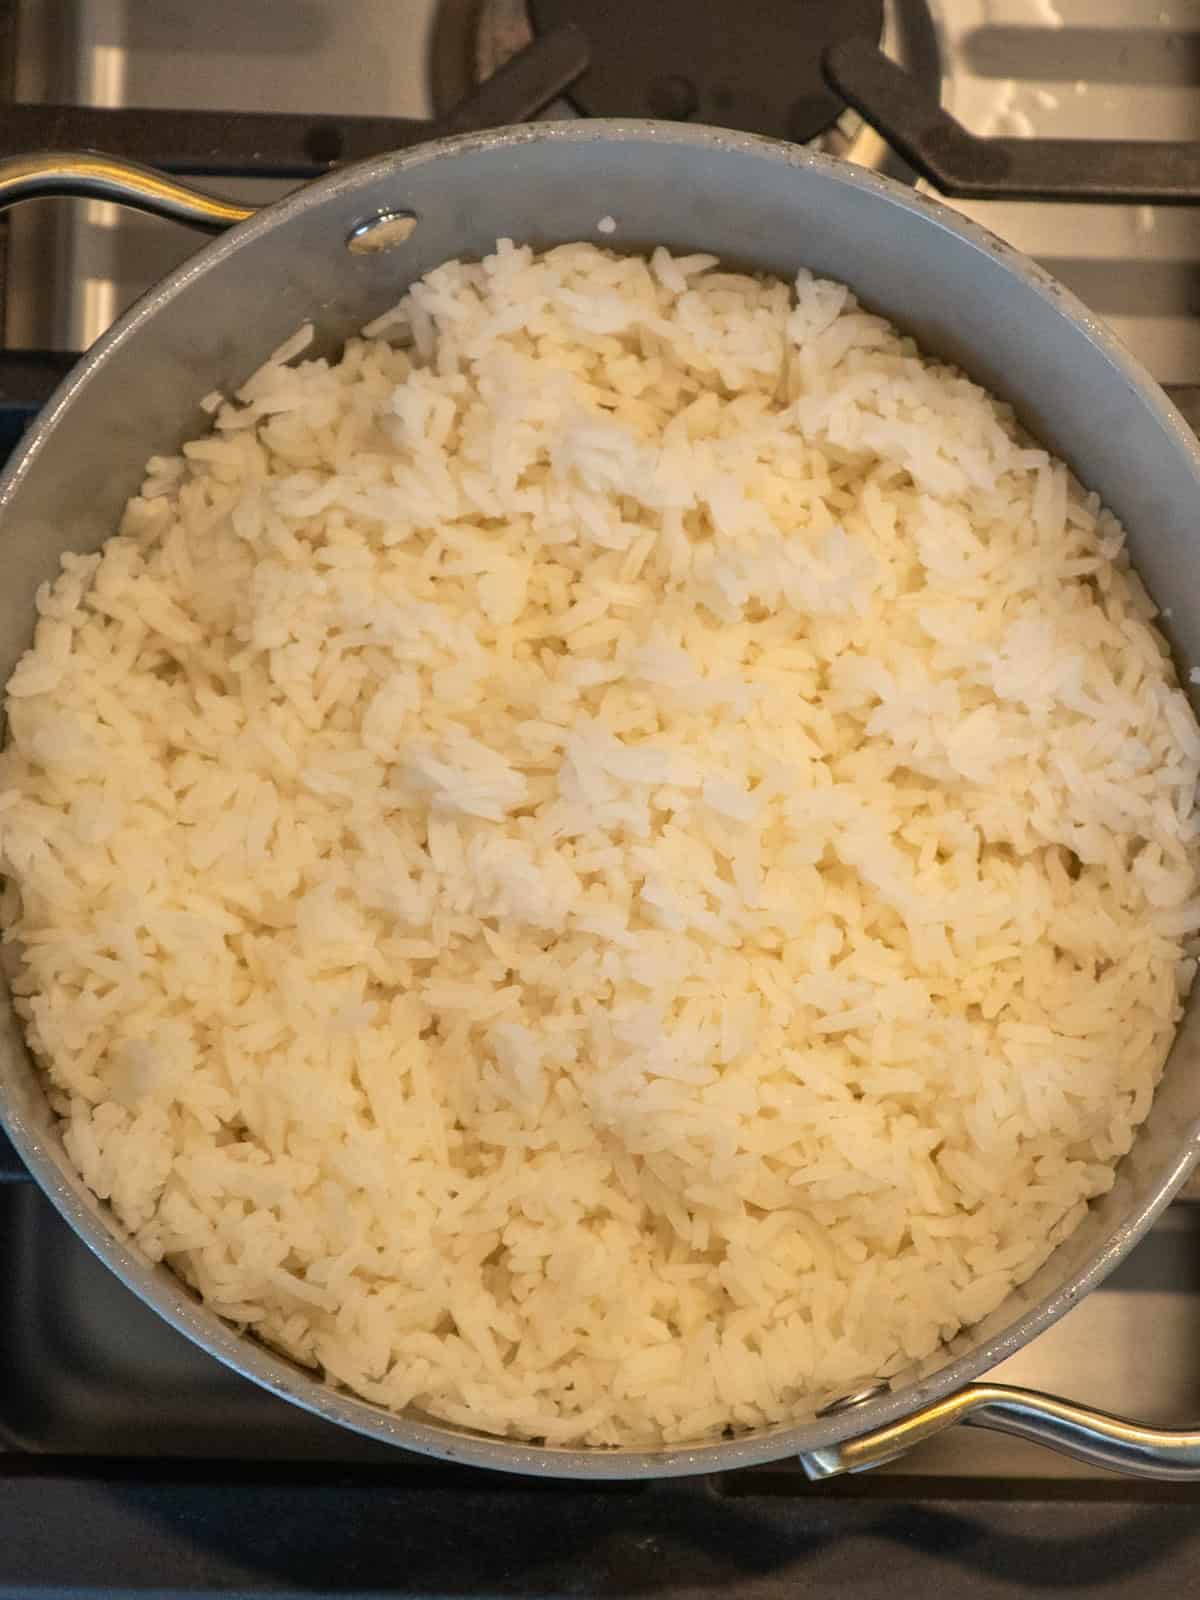
- Cook the Jasmine Rice: Bring the rice and water in a saucepan to a boil, then cover, reduce the heat to low, and let it cook for 15-18 minutes. When it's done, turn off the heat and let the rice rest covered for 5 to 10 minutes.
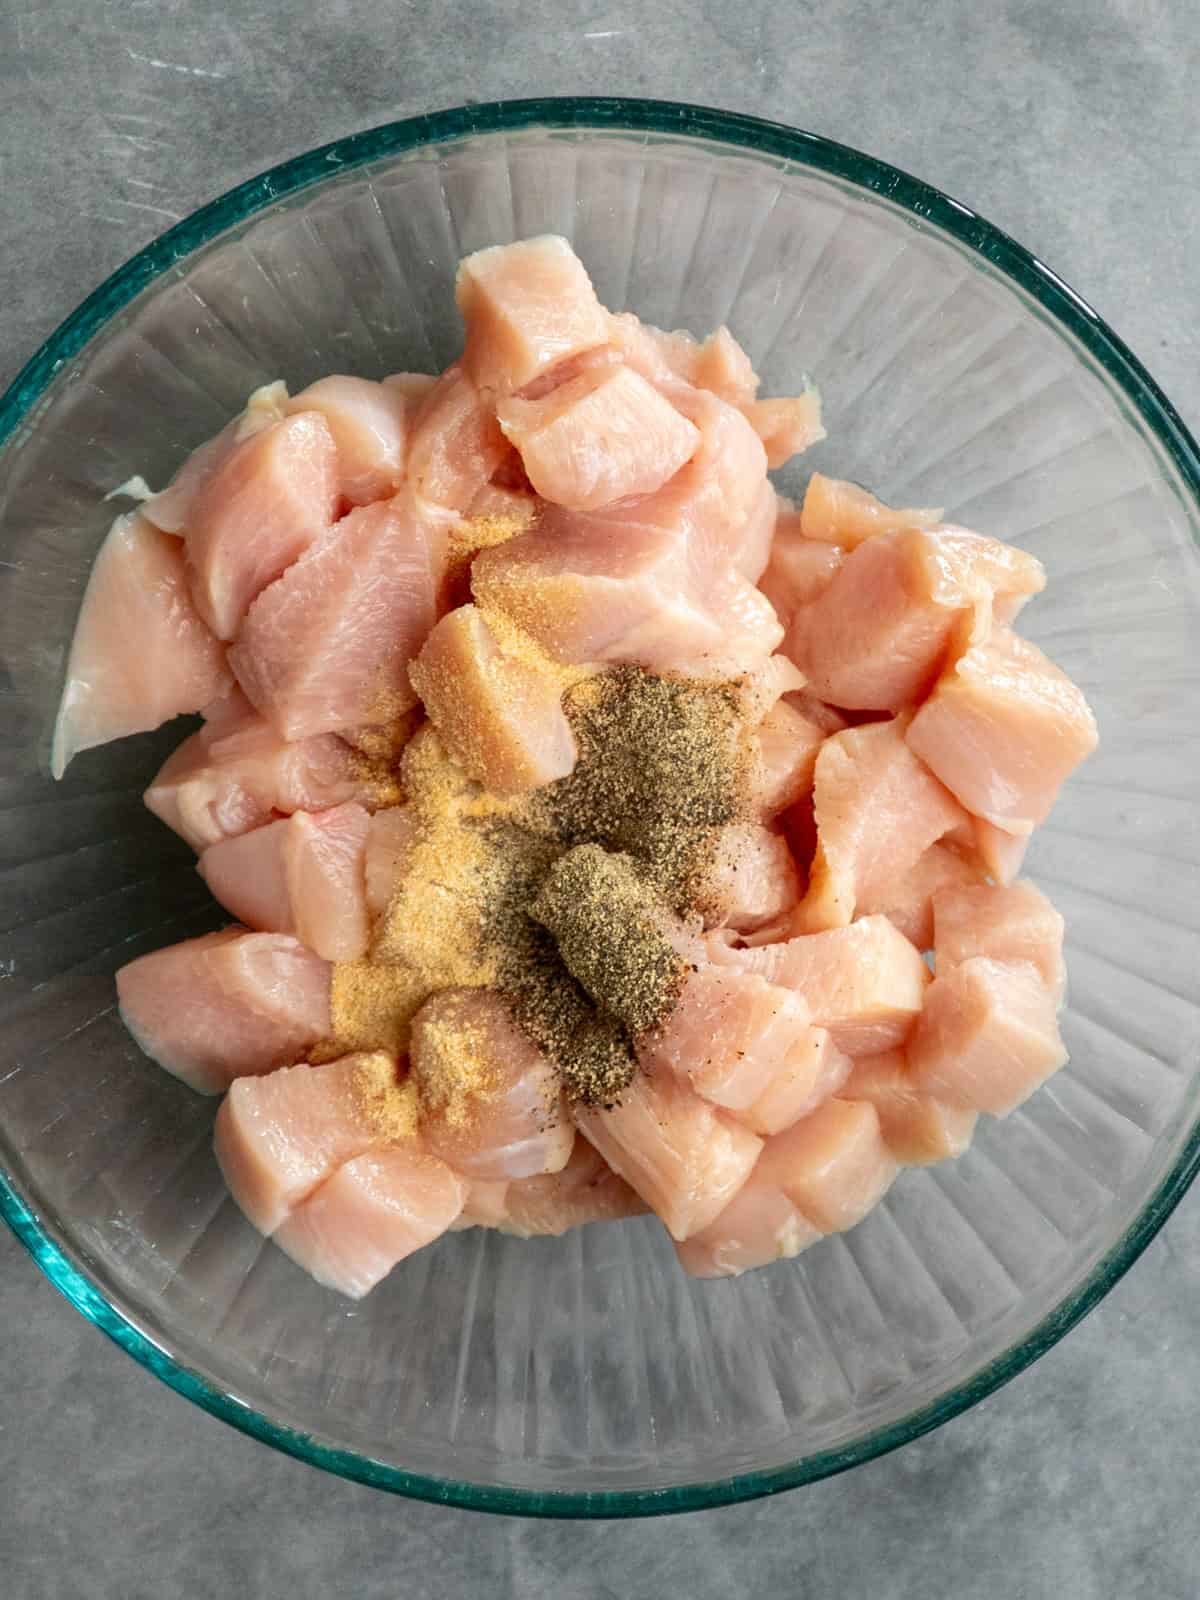
- Season the Chicken: Add the cubed chicken, black pepper, and onion powder to a bowl. Toss the chicken to coat it evenly with the spices.
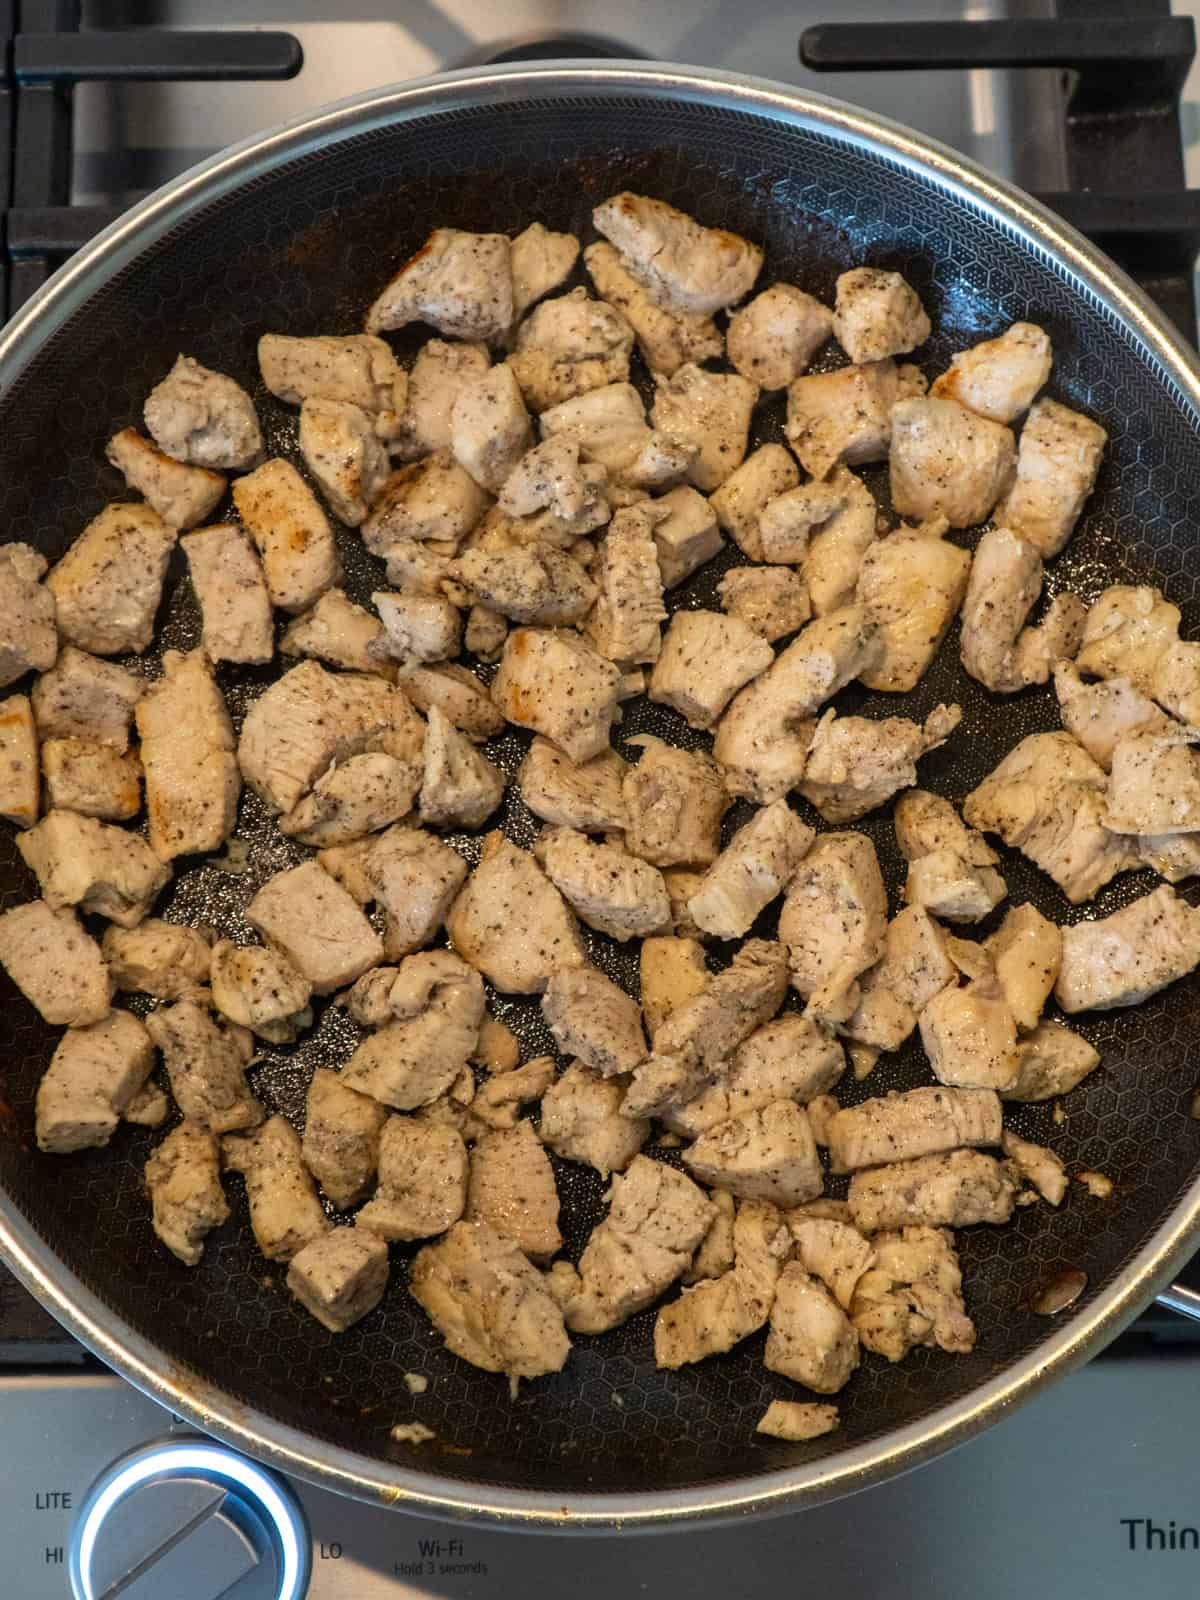
- Cook the Chicken: Heat the olive oil in a large skillet over medium-high heat. Cook the chicken in a single layer, spaced apart to avoid steaming, for 5-7 minutes or until browned. Check that the thickest pieces reach 165℉ internally. Remove it from the pan and set it aside covered with foil.
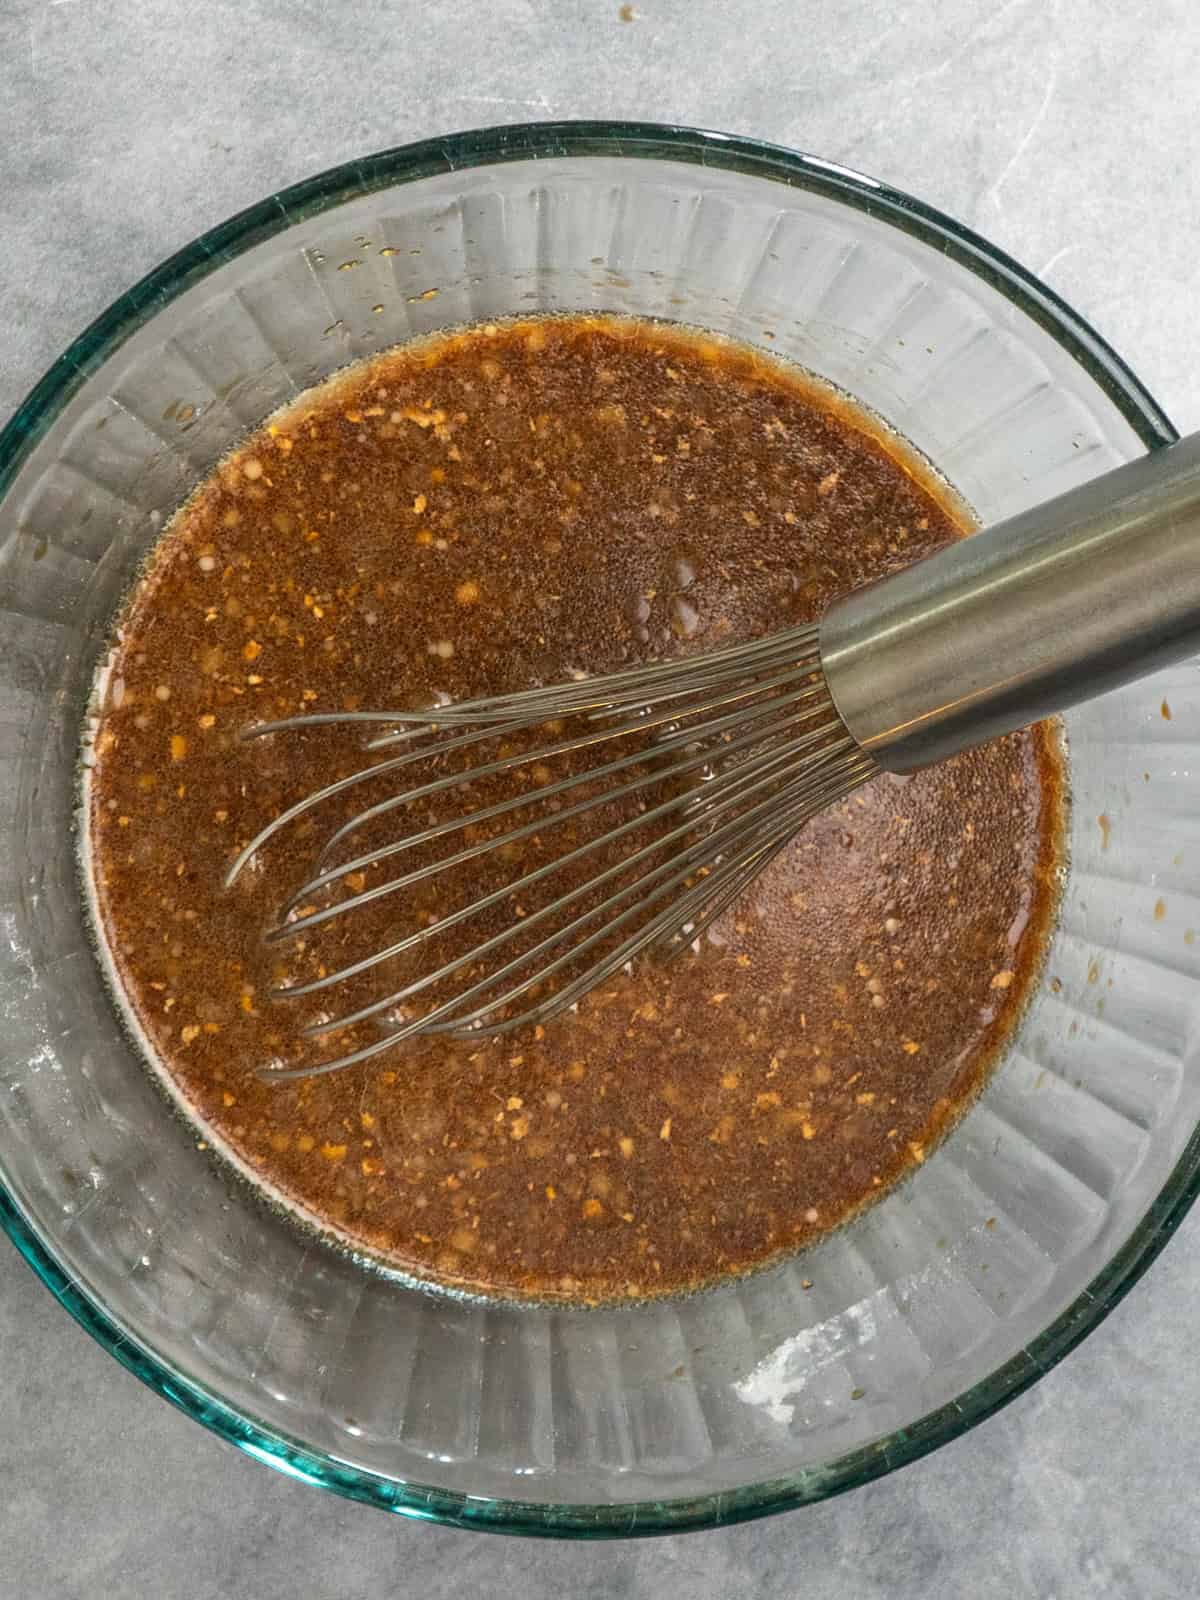
- Mix the Teriyaki Sauce: While the chicken is cooking, whisk together the soy sauce, water, brown sugar, mirin, sesame oil, ginger, garlic, honey, and cornstarch in a small bowl. Set this aside.
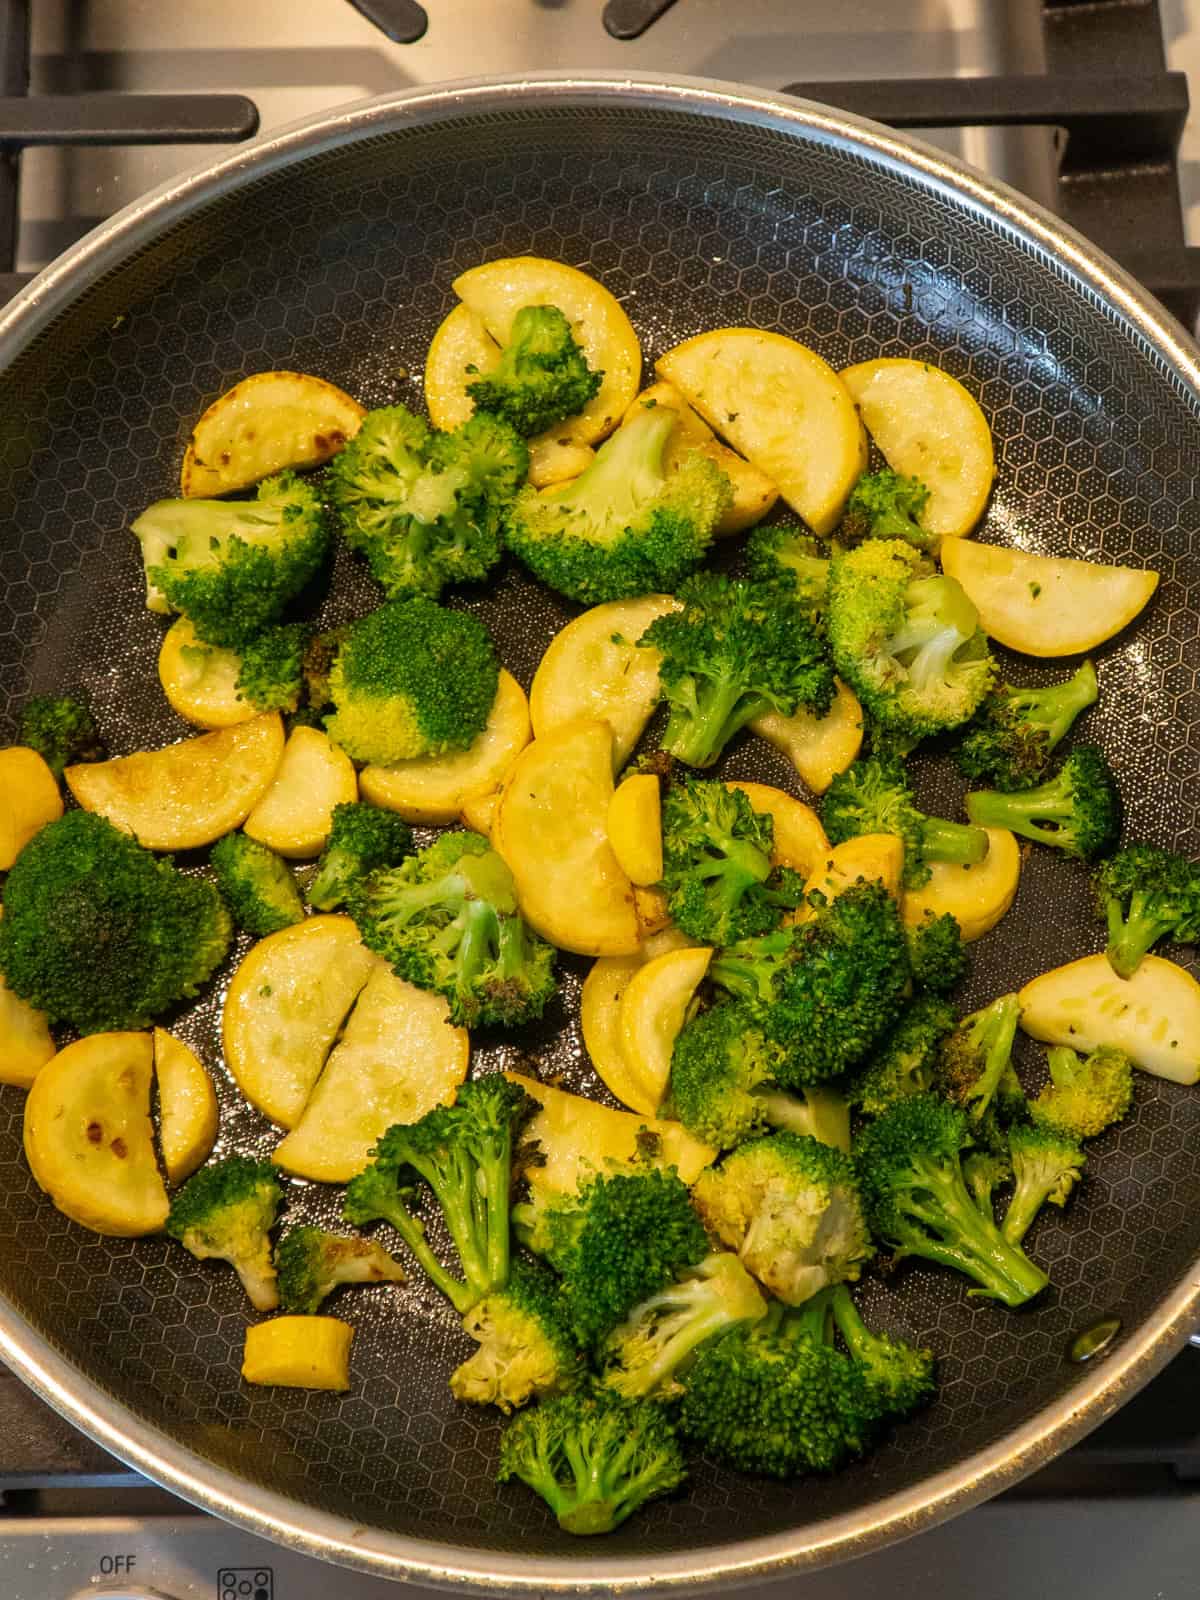
- Saute Vegetables: Add more olive oil to the same skillet. Then, add the broccoli and yellow squash, and saute for 5 to 7 minutes, or until it's fork-tender.
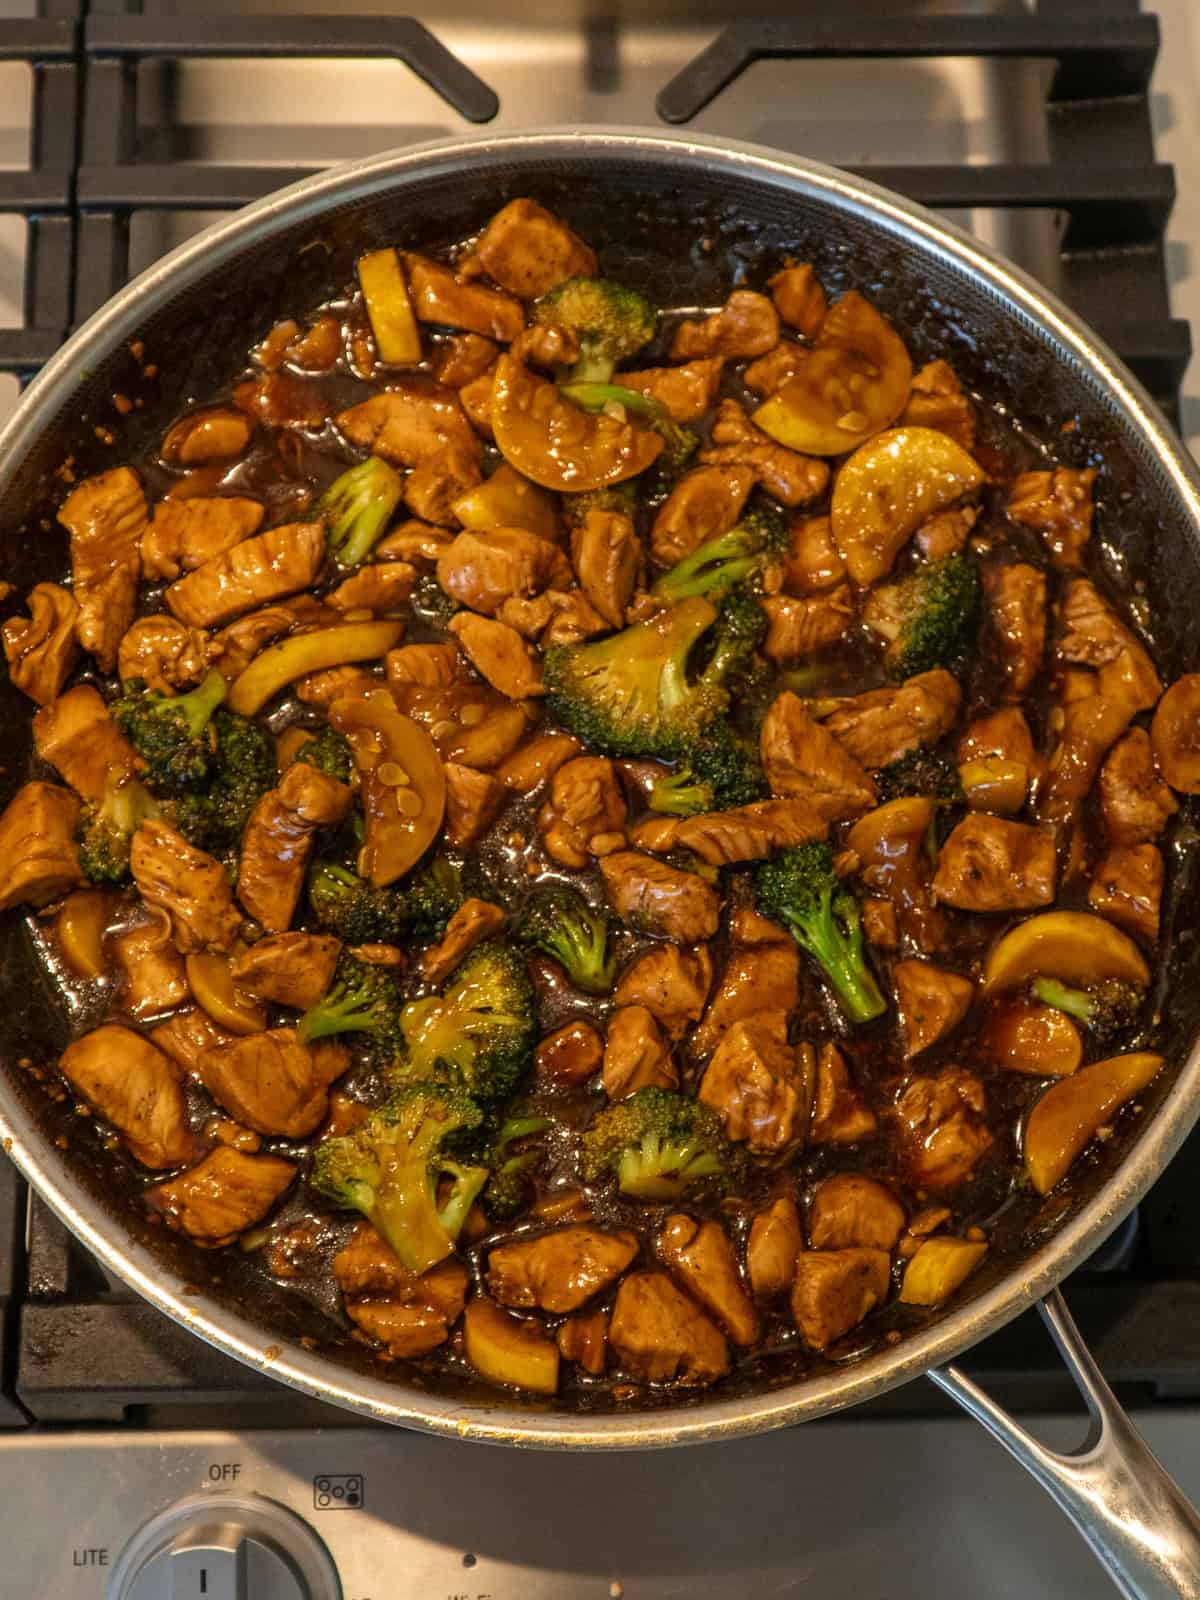
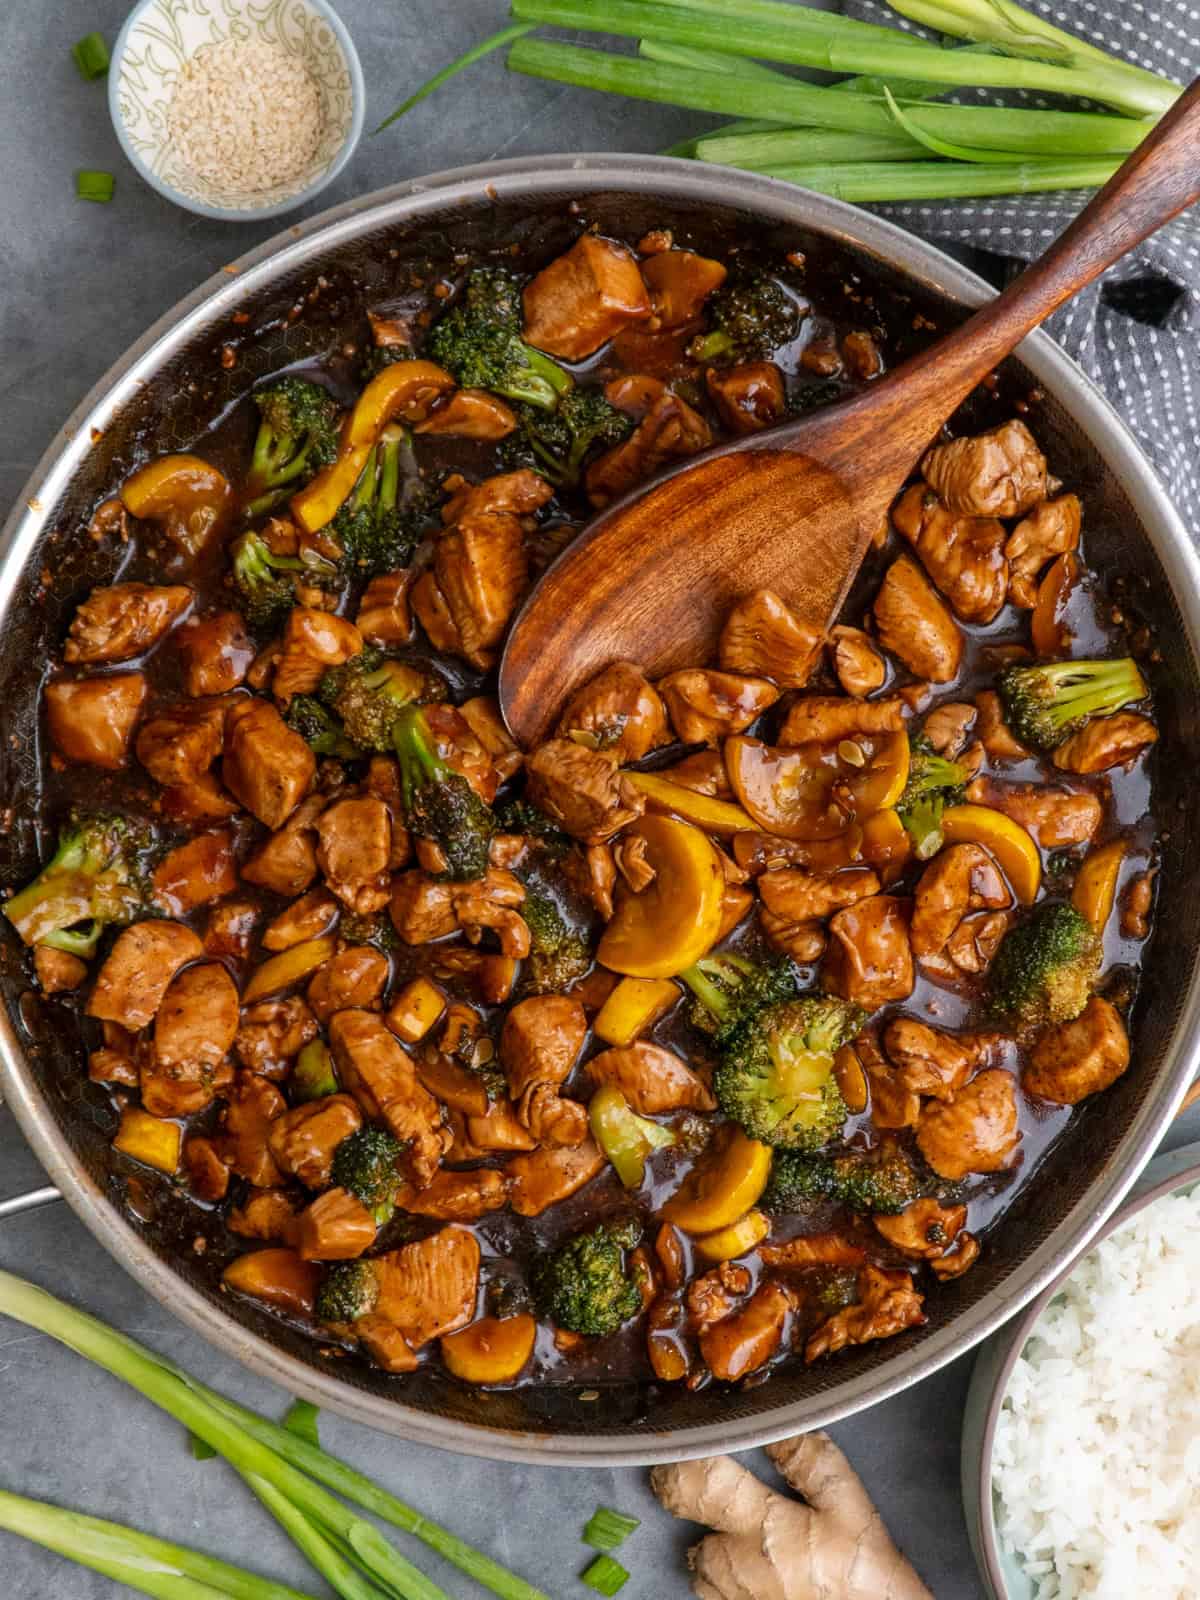
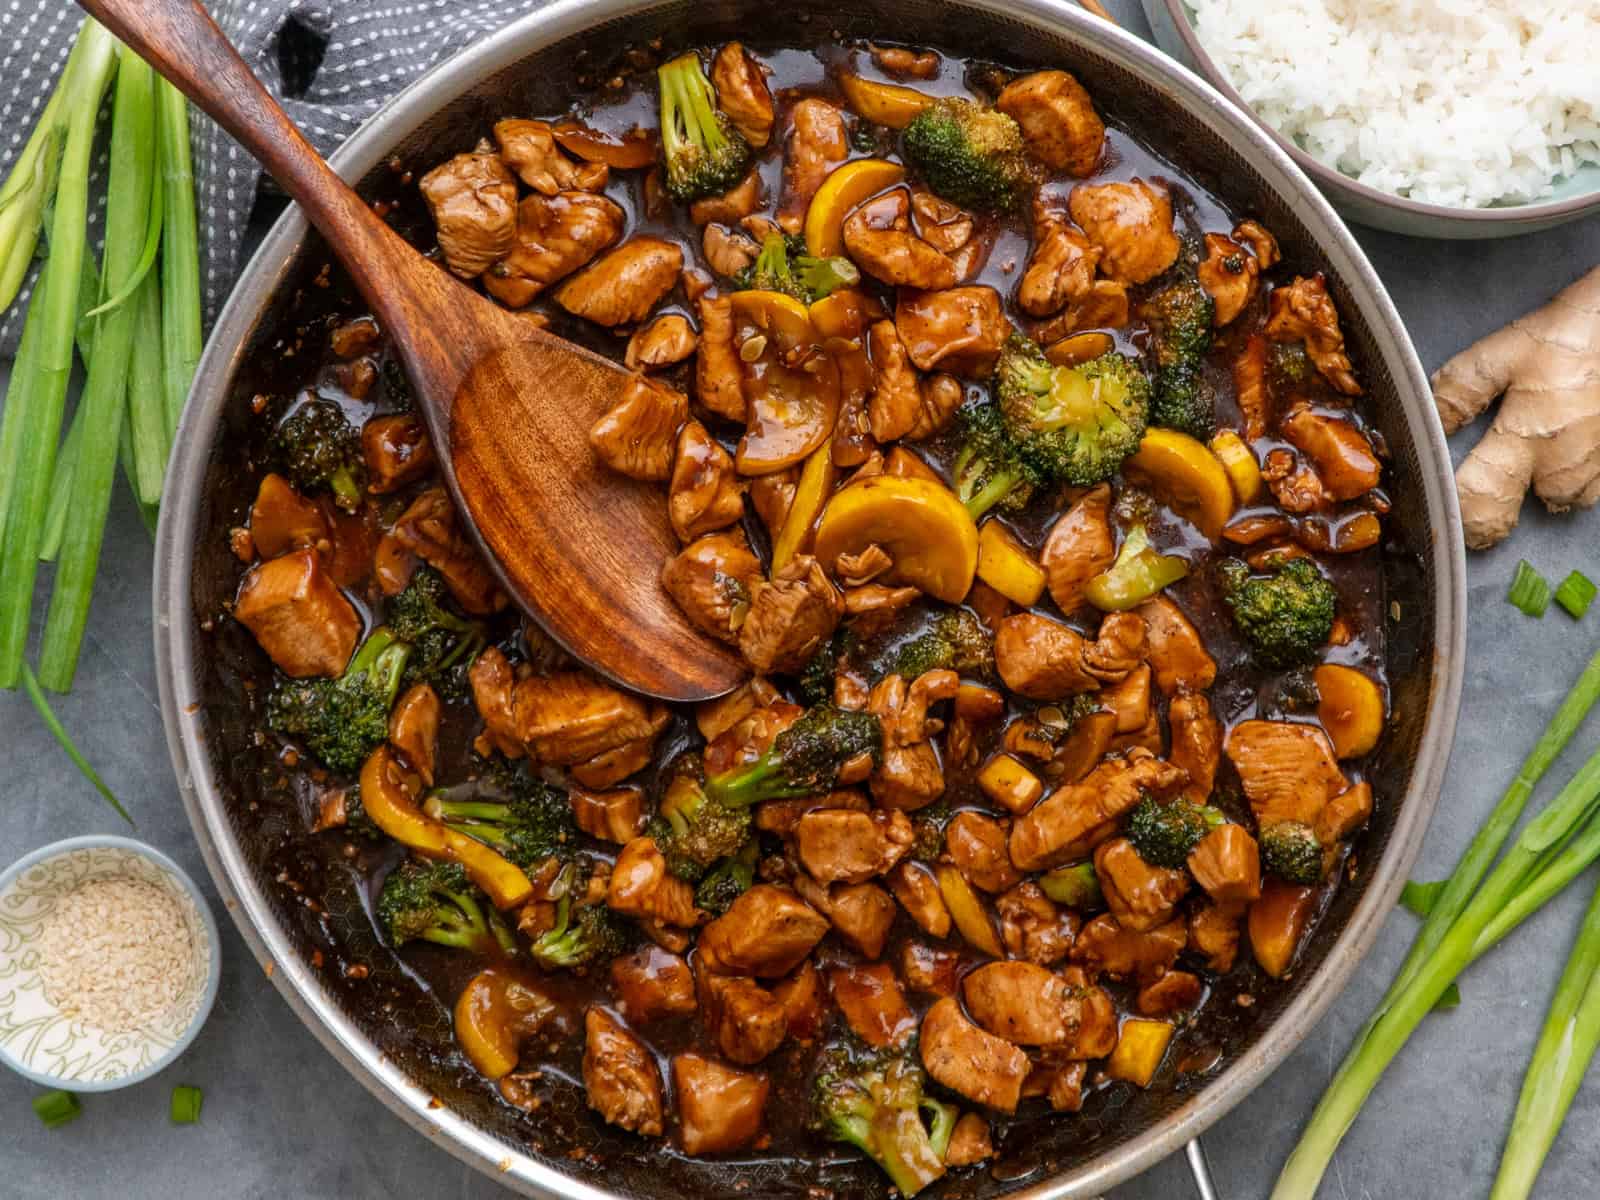
- Add Chicken and Sauce: Add the cooked chicken back to the skillet. Pour the teriyaki sauce into the skillet and cook for 2-3 minutes, occasionally stirring or until the sauce is glossy and thick enough to coat the back of a spoon.
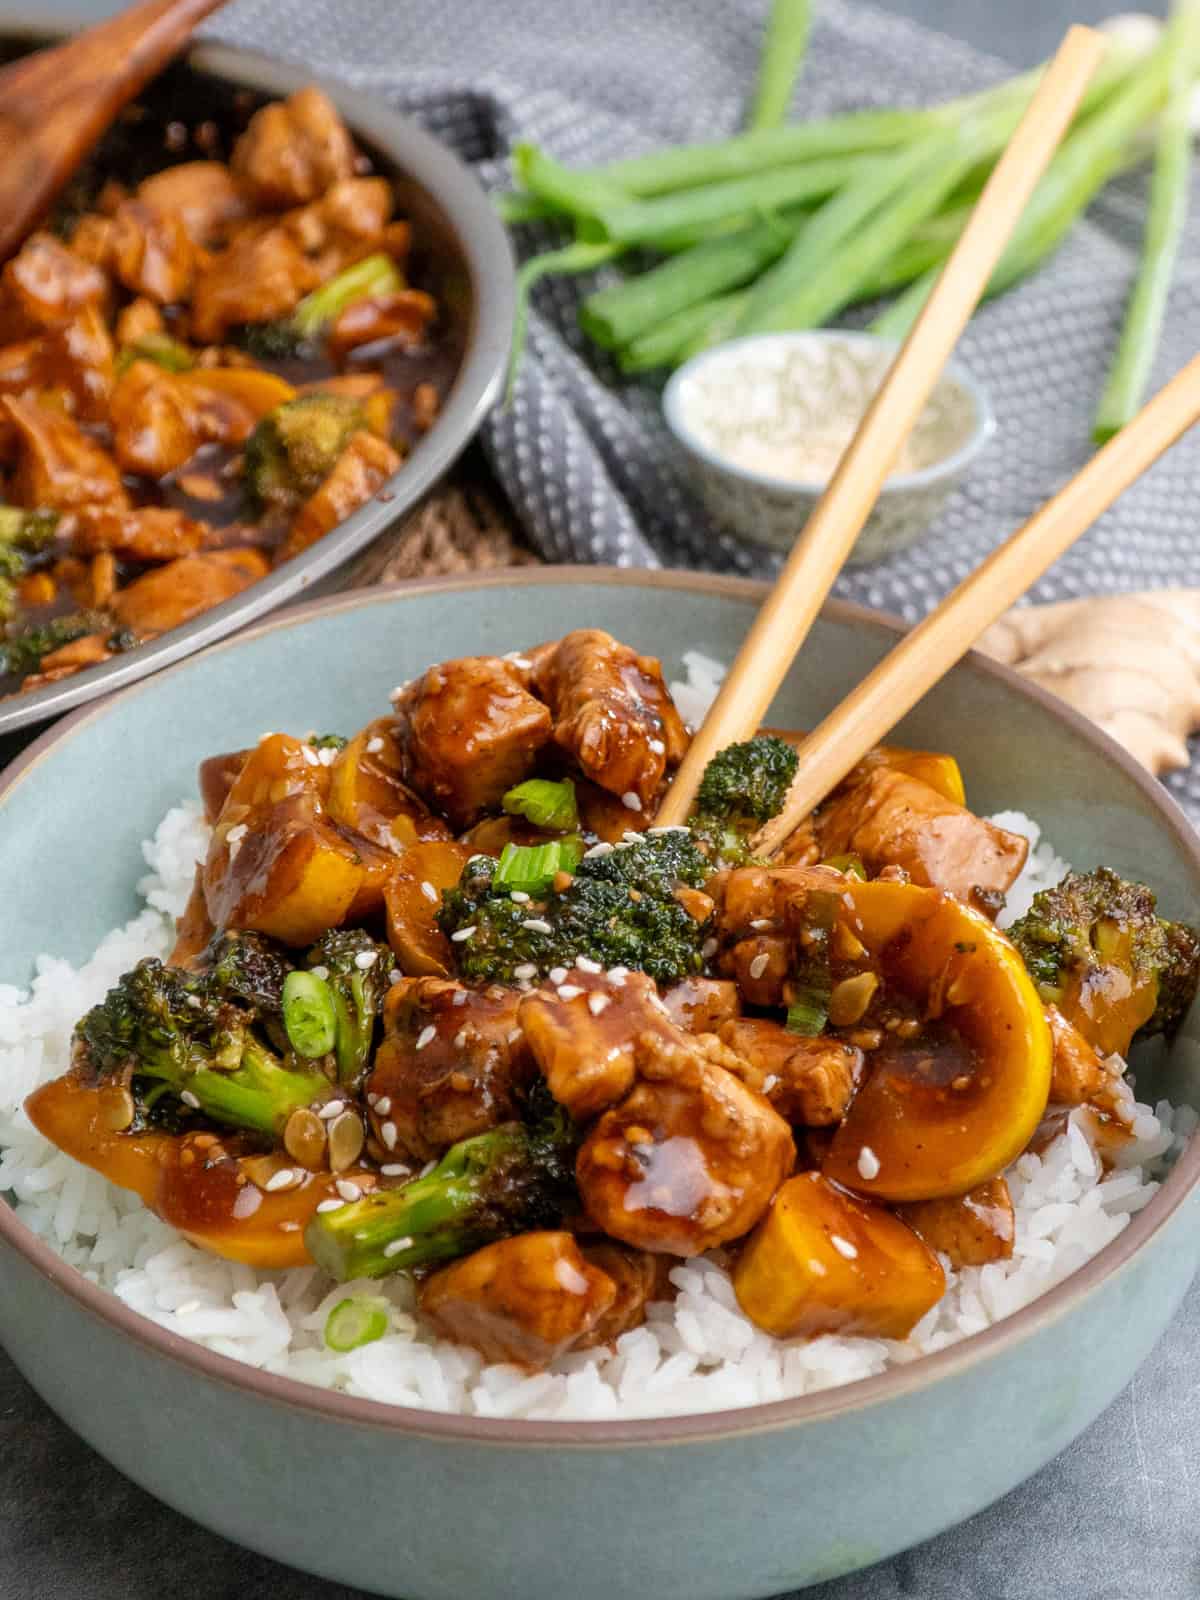
- Assemble the Bowls: Divide the rice among 4 bowls, top with teriyaki chicken and vegetables. Garnish with green onion and sesame seeds before serving.
If you love quick and easy chicken dishes, try this chicken green bean stir fry or my sweet and sour chicken with pineapple.
Make for Meal Prep
This recipe is a great option for meal prep since every component holds up well in the fridge.
- Prep: Cook the chicken, vegetables, rice, and sauce up to one day ahead, then store the rice separately from the chicken and vegetables so it doesn't turn gummy.
- Reheat: Warm the rice with a splash of water to bring back its fluffy texture, and heat the chicken and vegetables in a skillet or the microwave until warmed through. Garnish with the green onions and sesame seeds before serving.
- Individual Servings: Portion everything into individual containers for the week, and pack a bit of extra sauce in each one so the rice doesn't dry out. The bowls can be enjoyed warm or chilled. Make sure when taking it as a packed lunch to keep it refrigerated or in an insulated bag with a cold pack until you're ready to eat.
Expert Tips
- Prep the Chicken Right. Cut the chicken into similar-sized pieces for even cooking, and pat the chicken dry before cooking so it browns nicely and doesn't stick to the pan.
- Don't Overcrowd the Skillet. Cook the chicken in two batches if needed so it browns instead of steaming.
- Cook Chicken to Temperature. Cook the chicken until the thickest pieces reach 165°F. Remove them from the skillet promptly once they reach that temperature to prevent the small pieces from becoming dry. The USDA identifies 165°F as the safe minimum internal temperature for all poultry, including breasts and thighs.
- Adjust the Sauce Consistency. If the sauce isn't thick enough, whisk together 1 teaspoon cornstarch and 1 teaspoon cold water, then stir the slurry into the skillet and simmer for 30 to 60 seconds until it thickens. If it's too thick, add water in small increments to reach your desired consistency.
Storing & Freezing
- Storing: Refrigerate leftovers in shallow airtight containers within two hours of cooking. Store the rice separately from the chicken, vegetables, and sauce for the best texture, and use within four days.
- Freezing: Let it cool completely before adding it to a freezer-safe bag or container. It will stay fresh for up to 3 months. Keep in mind that broccoli and squash soften once thawed, so they won't have quite the same crisp-tender texture as freshly made. Rice also reheats best when frozen and thawed separately from the chicken and vegetables. Thaw leftovers in the fridge overnight before reheating.
- Reheating: Reheat the rice separately with a splash of water, either in the microwave or in a covered pan over low heat, to help restore its fluffy texture. Warm the chicken and vegetables in a skillet over medium heat, or in the microwave, until heated through. If you added green onions or sesame seeds as a garnish, wait to add fresh ones after reheating rather than reheating them with the leftovers.
Teriyaki Chicken Bowl Recipe FAQs
The sauce needs to reach a steady simmer for the cornstarch to activate, so if it's only warm, it won't thicken properly. If it's still thin after a few minutes of simmering, whisk together 1 teaspoon cornstarch and 1 teaspoon cold water, stir the slurry into the skillet, and simmer for another 30 to 60 seconds. Keep in mind the sauce also thickens a bit more as it cools, so don't over-correct while it's still hot in the pan.
Not at all. The sauce is whisked together and cooked in the same skillet session, so there's no marinating time built into this recipe. That's a big part of why it comes together in 30 minutes.
Yes. Whisk the sauce ingredients together and refrigerate in an airtight container for up to 5 days. Give it a quick stir before adding it to the skillet, since the cornstarch settles as it sits.
Yes. You can use bottled teriyaki sauce, but the sweetness, sodium, thickness, and ingredient list vary by brand. Start with a smaller amount and add more as needed.
Serving Suggestions
The beauty of rice bowls is that they are essentially an entire meal in a bowl! You've got the protein, starch, and veggie. This is perfect for easy weeknight dinners or a quick and easy-to-carry lunch for the week.
Add a fresh salad like this strawberry pecan salad or some mixed greens with a homemade dressing work well if you're looking for some other options for the meal.
End your meal with something sweet, yet light, like these coconut lime cookies or cream puffs with custard filling.
More 30-Minute Dinner Recipes
SHARE IT & RATE IT
If you love this dish, please rate it and leave a comment below. Then follow us on Facebook, Instagram, and Pinterest! Share your favorite recipes or ask questions in our Facebook Group.
Teriyaki Chicken Bowl with Rice and Broccoli
Equipment
Ingredients
Chicken
- 1½ pounds boneless, skinless chicken breasts cut into 1-inch cubes
- 1 teaspoon black pepper
- ½ teaspoon onion powder
- 2 tablespoons olive oil
Rice
- 2 cups Jasmine rice
- 3 cups water
Teriyaki Sauce
- ⅓ cup low sodium soy sauce
- 1 cup water
- 2 tablespoons light brown sugar
- 1 tablespoon mirin
- 1 teaspoon sesame oil
- 1 teaspoon fresh ginger peeled and minced
- 2 teaspoons garlic minced
- 2 tablespoons honey
- 1½ tablespoons cornstarch
Broccoli
- 2 cups broccoli florets
- 1 yellow squash sliced and halved
- 2 tablespoons olive oil
Garnishd
- green onions
- sesame seeds
Instructions
- Rinse the rice, then add the rice and water to a saucepan, bring to a boil, cover, reduce the heat to low, and let it cook for 15-18 minutes. Turn off the heat and let the rice rest for 5 to 10 minutes, covered.
- In a bowl, add cubed chicken, black pepper, and onion powder. Then, toss to coat.
- Heat olive oil in a large skillet over medium-high heat. Cook the chicken in a single layer, spaced apart to avoid steaming, for 5-7 minutes or until browned and the thickest pieces reach 165℉ internally. Remove, set aside, and cover with foil.
- While the chicken is cooking, whisk together soy sauce, water, brown sugar, mirin, sesame oil, ginger, garlic, honey, and cornstarch in a small bowl. Set aside.
- Add olive oil to the same skillet, and add broccoli and yellow squash. Saute for 5 to 7 minutes or until fork tender. Then, add cooked chicken back in.
- Pour the sauce into the skillet and cook for 2-3 minutes, occasionally stirring or until it is glossy and thick enough to coat the back of a spoon.
- Divide the rice among 4 bowls, top with teriyaki chicken and vegetables. Garnish with green onion and sesame seeds before serving.
Notes
- Cut the chicken into evenly sized 1-inch pieces so it cooks at the same rate. Avoid overcrowding the skillet. Cook the chicken in two batches if necessary so it browns instead of steaming.
- Let the teriyaki sauce reach a steady simmer so the cornstarch can thicken it. The sauce is ready when it looks glossy and coats the back of a spoon.
Nutrition
*All nutrition information provided is automatically calculated and is an estimate and will vary based on ingredients, brands, and changes in cooking methods listed in the recipe. If you need exact numbers on your ingredients, I would recommend calculating them with your preferred nutrition calculator.

Ryan Allen
We make this teriyaki chicken alot at my house. It is a quick dinner athat nver gets any complaints and it is a great way to get the kids to eat their broccoli.
Shaun
Wow that was an amazing dish. I had to use like oil instead of sesame oil and white vinegar instead of rice vinegar. I used Mikes hot honey just for some extra flavor and it came out great.
Ryan Allen
That sounds amazing! Love the swaps and Mike’s Hot Honey is a great touch. So glad it still turned out great for you!
Heather
Can I substitute with gluten free teriyaki sauce instead? If so how much would I use?
Ryan Allen
Yes, you can use gluten free teriyaki sauce. I would use about 1 1/2 cups.
Heather
Thank you much!! So excited to make this tonight!!!