With just four simple ingredients, you can recreate a classic childhood favorite with a fun and fruity twist! Perfect for parties, potlucks, or just a sweet snack, these Fruity Pebbles Rice Crispy Treats will bring a smile to your face and a burst of fruity cereal flavor to your taste buds!
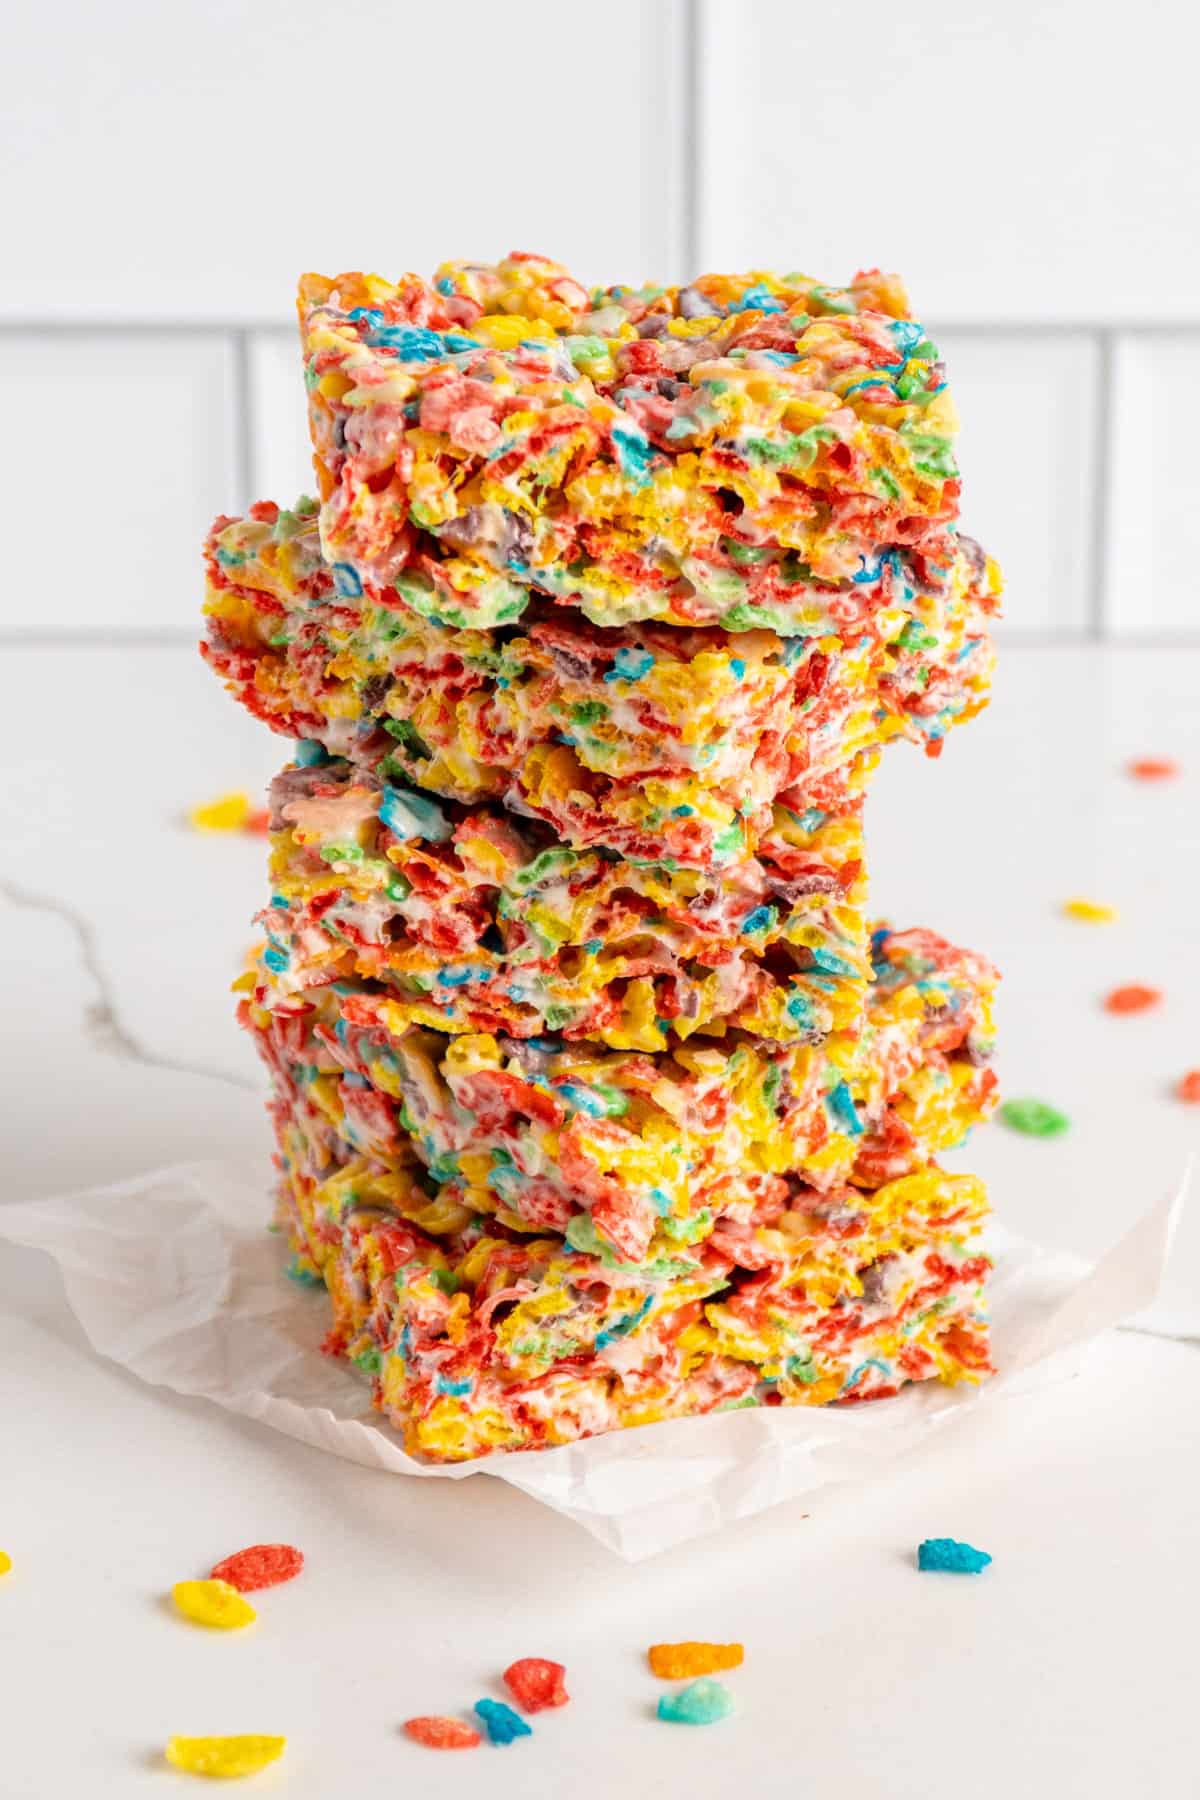
Fruity Pebbles are a sweet and crunchy breakfast cereal made by Post that has been an American favorite since its debut in the 1970s. The cereal is made up of multicolored crispy rice pieces that are coated with a sweet fruity flavor, which makes them a popular choice for kids and adults.
What's great about using this cereal in a classic rice crispy treat recipe is that it adds a fun and playful twist to the classic dessert, creating a colorful and flavorful treat that is perfect for parties, events, or even just as a fun snack for after school.
Not only are these treats easy to make, but they only require four simple ingredients to make them. If you're ready to add some color and flavor to your dessert table, let's get started!
Why You’ll Love This Recipe
- These fruity, crispy treats are a fun and creative way to enjoy a classic dessert with a playful and colorful twist!
- With only four simple ingredients, this recipe is incredibly easy to make so you can whip up a batch of these treats in no time.
- The sweet and fruity flavor of the Fruity Pebbles cereal adds a burst of flavor to the classic Rice Crispy Treat recipe making it a winning combination in taste and texture.
- These treats are perfect for parties, events, or even just as a fun and tasty snack!
Ingredients You’ll Need
- Butter - Serves as the fat component providing richness and flavor to the treats. It also helps to bind the marshmallows and cereal together, creating a cohesive texture.
- Vanilla Extract - Adds a subtle and sweet vanilla flavor to the recipe, which complements the fruity taste of the Fruity Pebbles.
- Mini Marshmallows - The main binding agent in the recipe, creating a sticky, sweet, and gooey texture that holds the cereal together.
- Fruity Pebbles - The cereal is made up of crispy rice pieces that are coated in a fruity flavor, adding a burst of sweetness and a rainbow of colors to the treats along with a satisfying crunch.
How To Make Fruity Pebbles Rice Crispy Treats
Prepare the pan: Spray a 9x13-inch pan with cooking spray and set aside.
Assemble the treats: Melt the butter in a microwave save bowl. Then stir in the marshmallows and melt in 30-second intervals, stirring in between until everything is melted together. Stir in the vanilla extract, followed by the Fruity Pebbles. Mix until all of the cereal is coated in the marshmallow mixture.
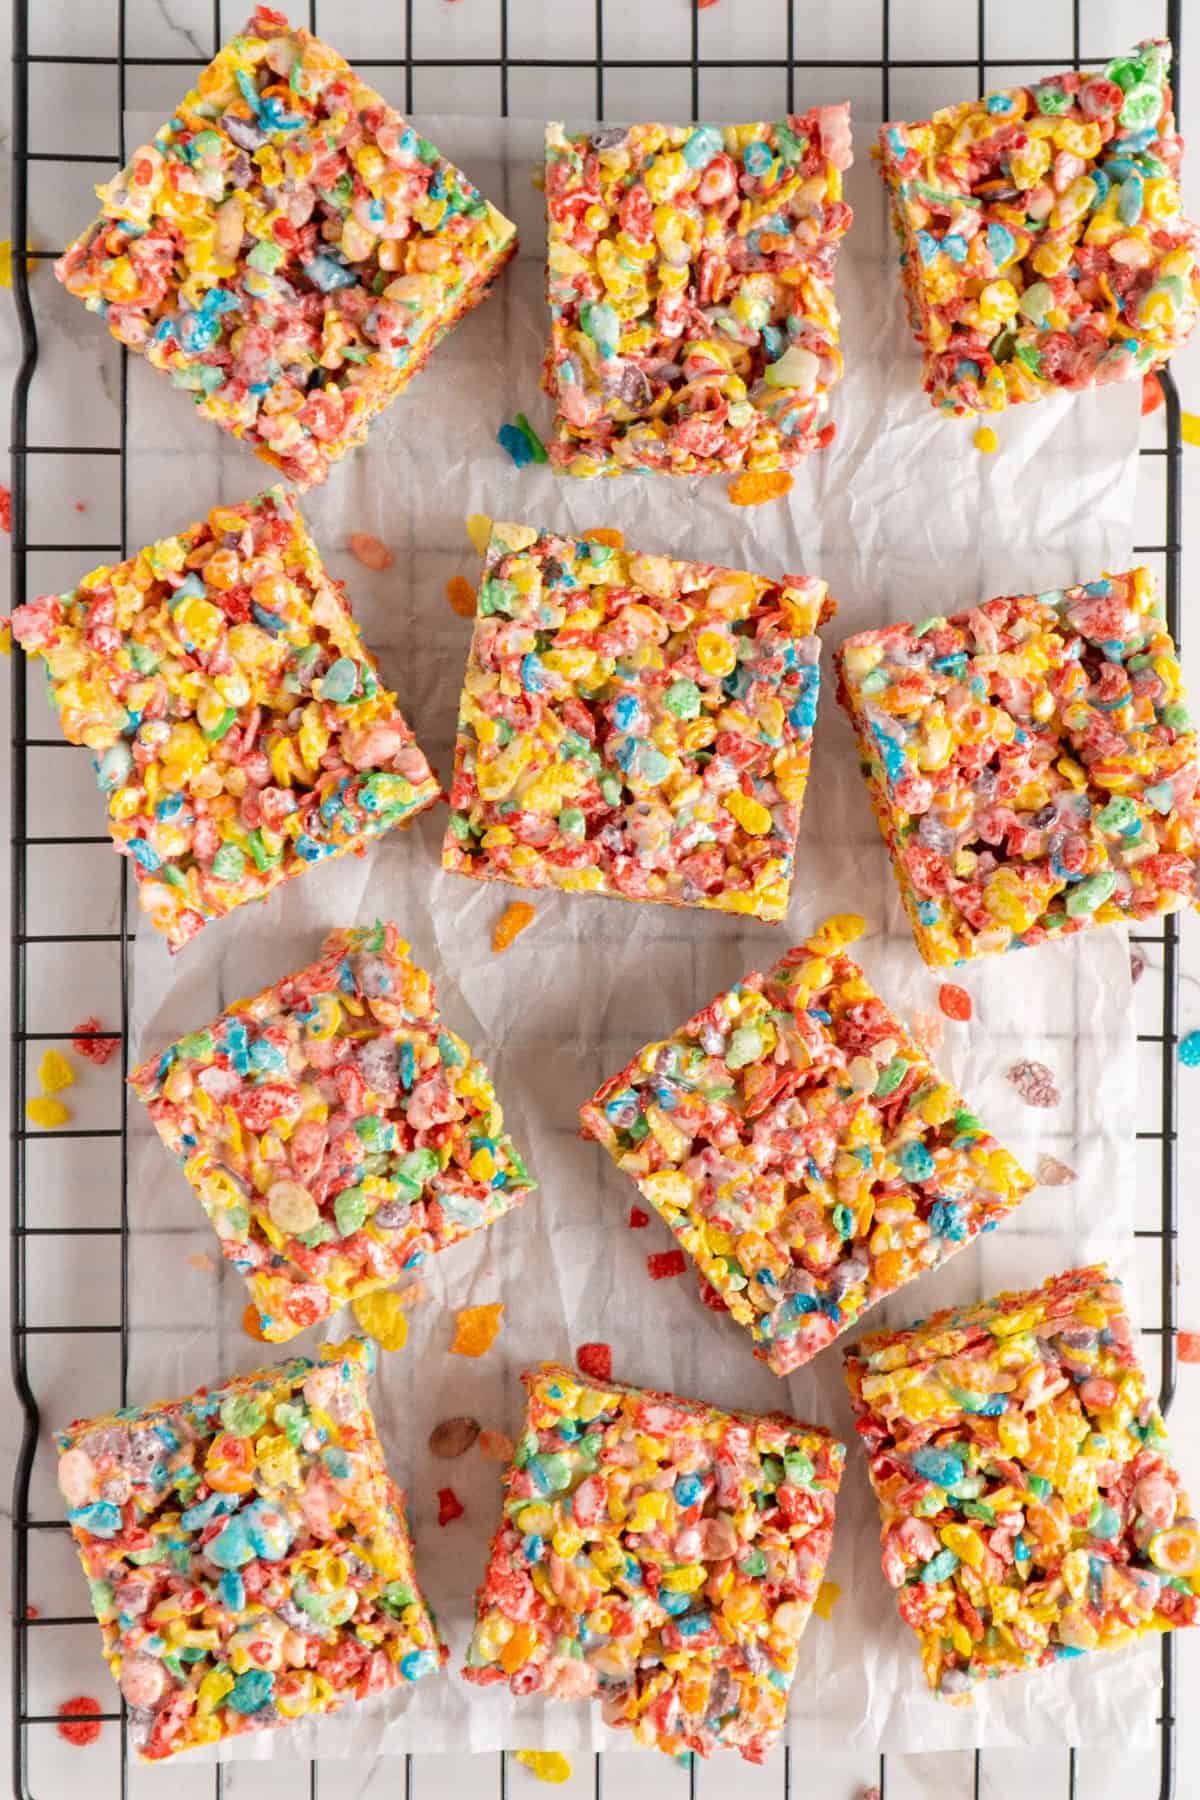
Spread and chill: Spread the cereal mixture into the prepared baking pan using clean hands with a thin layer of oil to prevent them from sticking. Press down to evenly distribute the mixture. Let the treats set for 30 minutes before slicing and serving. Enjoy!
Recipe Tips
- When melting the butter and marshmallows, be sure to stir frequently to prevent them from burning or sticking to the bowl.
- To make it easier to press the mixture into the pan, spray your hands with cooking spray to prevent the mixture from sticking to your fingers.
- If you prefer a softer texture, use slightly less cereal or slightly more marshmallows. If you prefer a firmer texture, use slightly more cereal or slightly fewer marshmallows.
- To make the treats even more colorful, you can add a few drops of food coloring to the melted marshmallow mixture before adding the Fruity Pebbles.
- For a fun and creative presentation, use cookie cutters to cut the treats into fun shapes, such as stars or hearts, before serving.
Variations
- For a fun twist, try using other types of breakfast cereal instead of Fruity Pebbles. Cereals such as Cocoa Puffs, Lucky Charms, or Cinnamon Toast Crunch would all make delicious variations of this recipe.
- To add even more flavor, try adding chopped nuts, such as almonds or peanuts, to the mixture before pressing it into the pan.
- For a more indulgent treat, try drizzling melted chocolate or caramel over the top of the treats before serving.
- To make the treats more festive, try using seasonal or holiday-themed sprinkles to add a pop of color.
Storing & Freezing
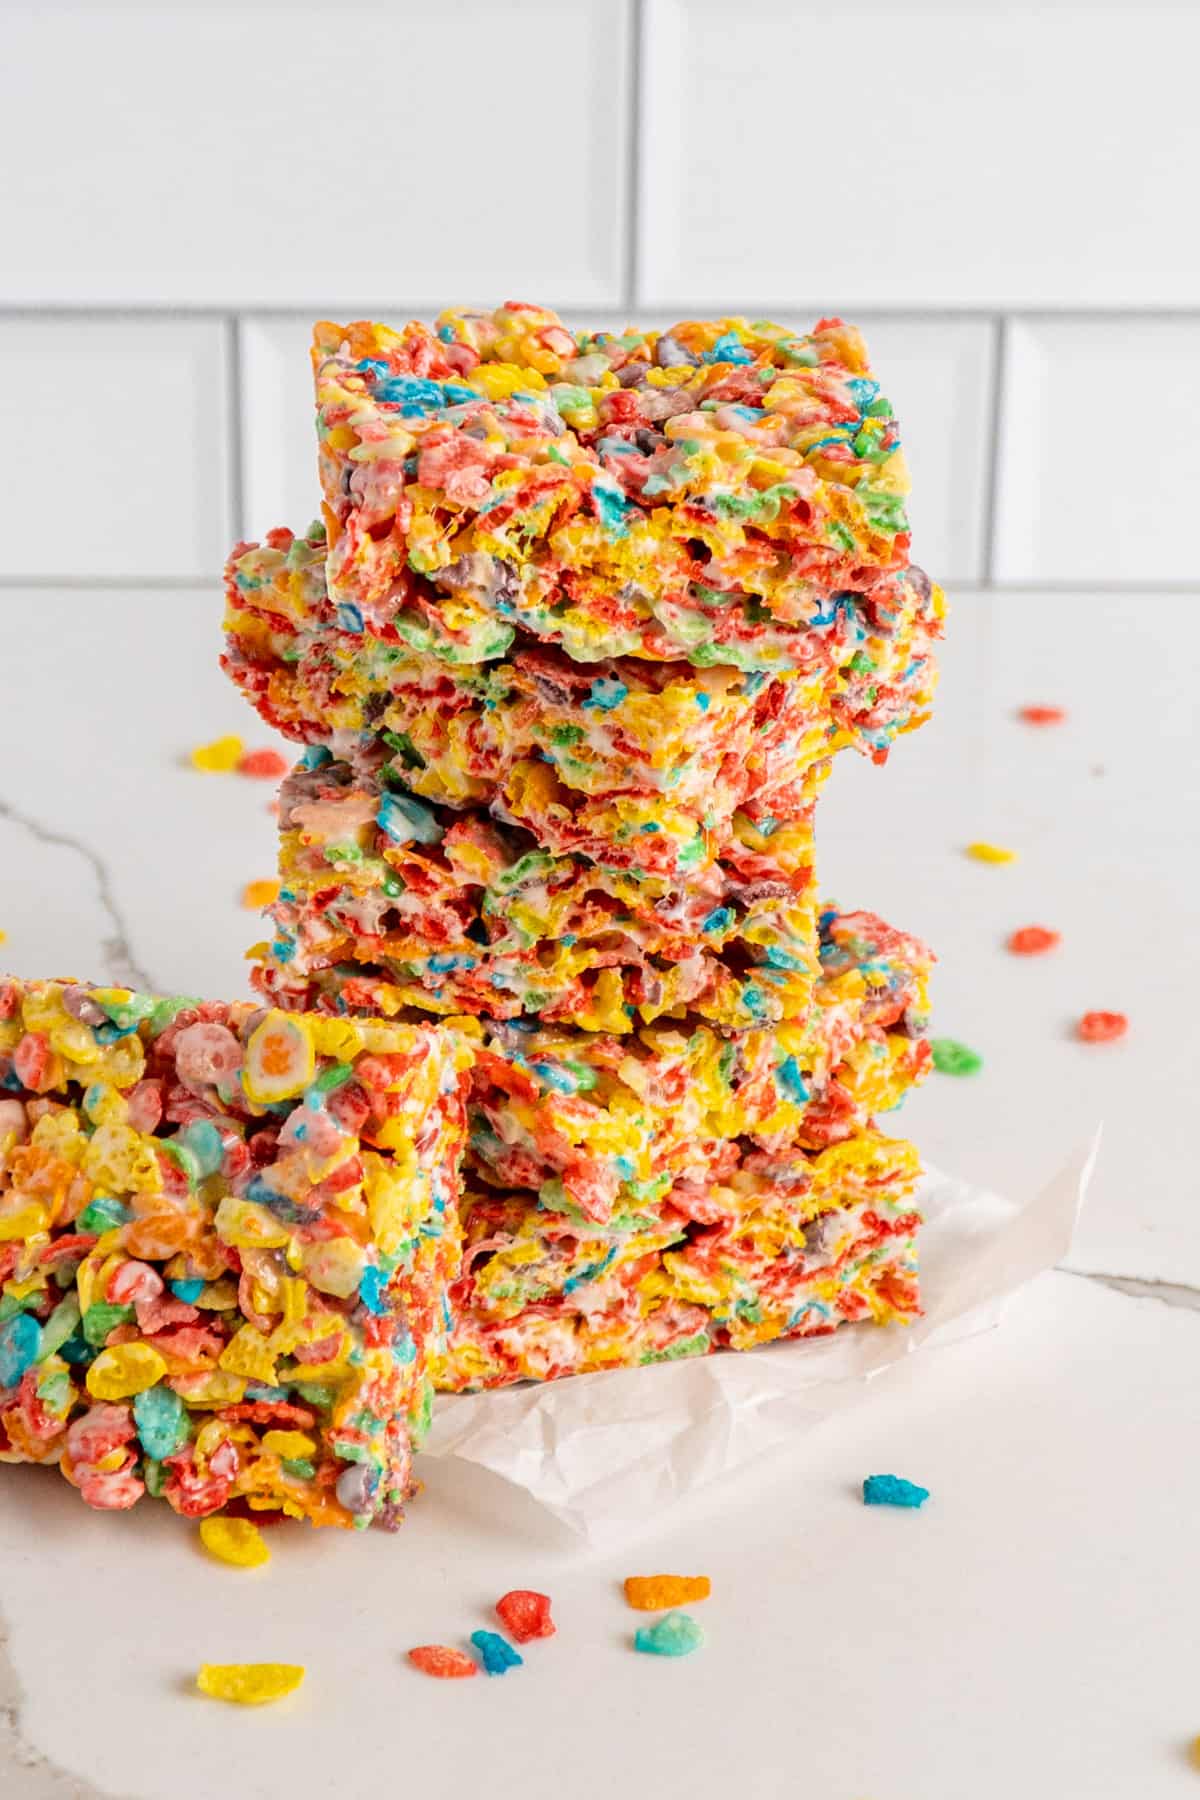
Storing: To store, place them in an airtight container at room temperature. They will keep for up to three days. Be sure to separate the layers of treats with parchment paper to prevent them from sticking together.
Freezing: To freeze, wrap them individually in plastic wrap and place them in an airtight container or freezer bag. They will keep for up to three months. When ready to eat, thaw the treats at room temperature for about 20-30 minutes before serving.
FAQ
Yes, Fruity Pebbles are made with a combination of rice and cornflakes that are coated in a fruity flavor.
Yes, you can heat up rice crispy treats in the microwave for 10-15 seconds. Keep in mind that this will make the marshmallows sticky.
For best results, it is recommended to store rice crispy treats at room temperature in an airtight container. Refrigerating them will cause the marshmallows to become hard and dry.
More Easy Treat Recipes
- Lucky Charms Rice Crispy Treats
- Butterbeer Cookies
- Salted Caramel Rice Crispy Treats
- Frosted Banana Cookies
- Homemade Cherry Turnovers with Puff Pastry
SHARE IT & RATE IT
We would love it if you would leave a 5 Star ⭐️⭐️⭐️⭐️⭐️ rating below. Then follow us on Facebook, Instagram, and Pinterest! Share your favorite recipes or ask questions in our Facebook Group.
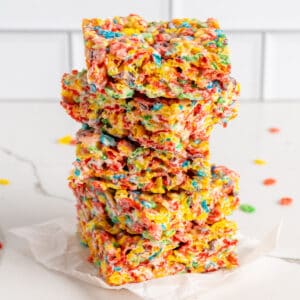
Fruity Pebbles Rice Crispy Treats
Equipment
Ingredients
- ⅓ cup butter
- 1 tsp vanilla extract
- 14 oz mini marshmallows
- 7 cups Fruity Pebbles
Instructions
- Spray a 9x13-inch pan with cooking spray and set aside.
- In a large microwave-safe bowl, melt butter. Stir in the mini marshmallows and melt for 30 seconds at a time, stirring in between until completely melted.
- Stir in vanilla extract. Slowly add the Fruity Pebbles, stirring until the pebbles are covered in marshmallows.
- Spread the mixture in the pan. Spray your clean hands with a little cooking spray, and press the mixture into the pan, making sure it's evenly spread.
- Let the treats set for 30 min, then serve and enjoy!
Notes
- If you would like to make these on the stove top. Melt the butter over low heat in a medium-large saucepan. Then, add the marshmallows and occasionally stir until about 75% of them have melted. Take the saucepan off the heat and continue to stir while using a rubber spatula or spoon to smash the remaining marshmallows until everything is melted and smooth.
- For easier pressing of the mixture into the pan, apply cooking spray to your hands to prevent it from sticking to your fingers.
- To store the treats, put them in an airtight container and keep them at room temperature. They can last up to three days. Remember to place parchment paper between each layer of treats to prevent them from sticking together.
Nutrition
*All nutrition information provided is automatically calculated and is an estimate and will vary based on ingredients, brands, and changes in cooking methods listed in the recipe. If you need exact numbers on your ingredients, I would recommend calculating them with your prefered nutrition calculator.


Leave a Reply